The Ford Transit’s battery is located inside the cabin beneath the driver’s seat, not in the engine bay. To replace it, you need to fold or remove the seat, remove any trim covers or fasteners, and disconnect the terminals—starting with the negative. Use the right tools like a socket wrench and gloves for safety. Carefully lift out the old battery, then install the new one, reconnecting everything properly. For detailed steps and tips, keep exploring further.
Key Takeaways
- The battery is located beneath the driver’s seat inside the cabin, not in the engine compartment.
- To access it, remove or fold the seat and detach interior covers or panels.
- Disconnect the negative terminal first, then the positive, before removing the battery.
- Use a 10mm socket wrench and gloves for safe removal and installation of the battery.
- Regularly inspect terminals for corrosion, ensure tight connections, and test voltage to maintain battery health.
Understanding the Battery Placement in Your Ford Transit

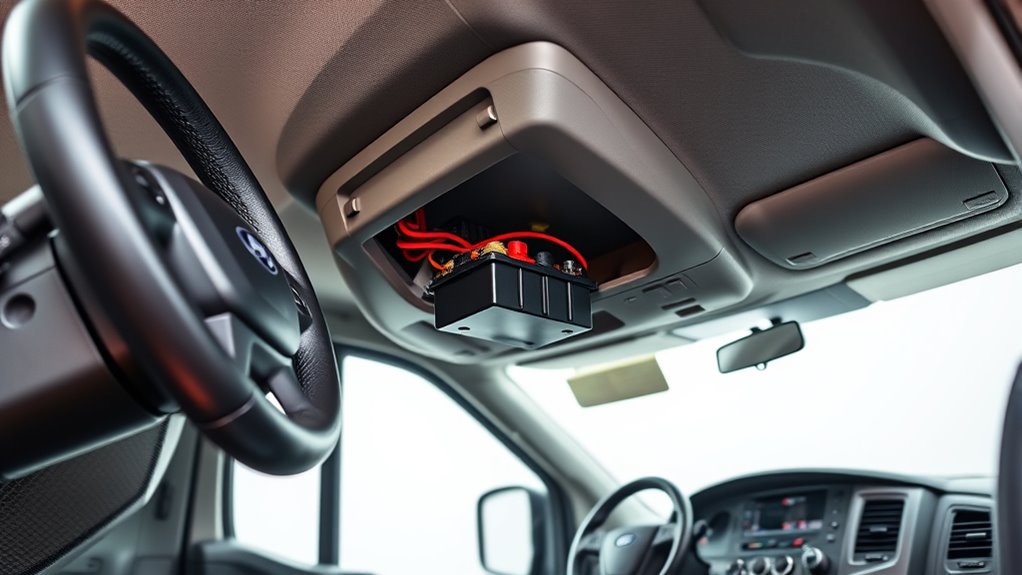
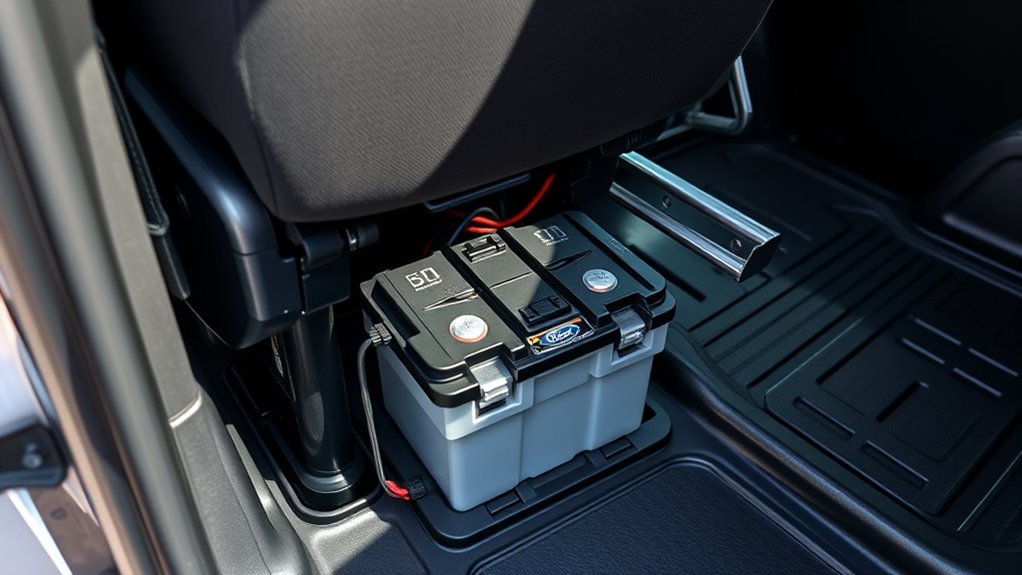
In your Ford Transit, the 12-volt battery is located beneath the driver’s seat rather than under the hood, which is common in many vehicles. This placement helps protect the battery from engine heat and external elements, ensuring better longevity. Both petrol and diesel models share this location, but accessing it requires sliding or removing the seat entirely. You’ll need to pop off plastic screw covers on the seat rails and use a 5/16″ socket wrench to remove bolts securing the seat and battery cover. Once exposed, disconnect the negative terminal first, then the positive, before lifting the heavy battery out through the seat opening. Despite its concealed position, jump-starting is simple thanks to dedicated terminals on the driver’s side fender, reducing the need to access the battery directly. Regular maintenance, including checking the battery health, can help prevent unexpected failures and extend its lifespan. Additionally, understanding the battery placement can make replacement and troubleshooting more straightforward, especially considering the vehicle’s electrical system design.
Locating the Battery Inside the Cabin
To locate the battery inside your Ford Transit, start by moving the driver’s seat fully to the rear to reveal the battery cover. You’ll need to remove plastic screw covers or panels to access the battery beneath the seat. Once exposed, you can remove the seat brackets if necessary to reach the battery for inspection or replacement. Battery health can be tested with a battery tester to ensure it is functioning properly before replacement. Additionally, understanding the best location for the battery can vary by model, so consulting your vehicle’s manual may provide specific guidance. Proper attention and focus during the process can help prevent accidents and ensure thoroughness. Ensuring proper physical healing and recovery after handling the battery is important, especially if you experience any discomfort or fatigue during the process.
Under Driver’s Seat
The Ford Transit’s battery is located directly beneath the driver’s seat inside the cabin, not in the engine compartment. You’ll find it toward the front, near the seat rail area under the seat cushion, within a covered compartment or enclosure. To access it, you need to slide the seat fully back and remove plastic screw covers at the front corners. Loosen the seat rail stop bolts with a Torx T40 bit to free the seat. The battery is secured by a hold-down bracket or clip, which must be unscrewed or unclipped. You’ll also need to disconnect the negative terminal first, then remove the vent tube and positive terminal. Handling the heavy battery carefully is essential to avoid injury or damage.
- Located beneath the front of the seat
- Requires seat removal or adjustment
- Secured with a hold-down bracket
- Vent tube must be removed before extraction
- Negative terminal disconnected first
Accessing Battery Cover
Accessing the battery cover inside your Ford Transit begins with locating the cover itself, which is built into the seat base assembly beneath the driver’s seat. You’ll notice plastic screw covers on the front edges of the seat frame, hiding fasteners that secure the cover. Use your fingers to carefully pry off these screw covers from the tabs without damaging them. Once removed, you’ll need a 5/16″ socket wrench to unscrew the bolts holding the cover in place. For extra clearance, you can loosen the rail stop bolts, slightly shifting the seat. Take your time to avoid stripping fasteners or damaging plastic parts. With the cover loosened or removed, you’ll gain access to the battery inside the cabin for inspection, maintenance, or replacement.
Removing Seat for Access
Clearing space under the driver’s seat is essential for reaching the battery inside your Ford Transit. To do this, move the seat all the way back to maximize space. Next, remove the plastic screw covers on the front sides of the seat by inserting a small flat tool or finger into the tabs. Use a ratchet or wrench (often 5/16″ or Torx size) to loosen the bolts or rail stop nuts securing the seat. Carefully lift or slide the seat forward or remove it entirely to expose the battery area underneath. Keep track of all bolts and covers for reinstallation. Some clips or brackets may require gentle prying to remove without damage, ensuring a smooth process. Additionally, being aware of the environmental impacts of improper disposal of old batteries is important for responsible maintenance. Proper handling and recycling of batteries help reduce environmental pollution and promote sustainability. Always follow safety protocols when working with vehicle electrical components to avoid injury or damage.
Accessing the Battery Under the Driver’s Seat
Since the Ford Transit places its battery beneath the driver’s seat inside the cabin, gaining access requires some preparation. First, slide the seat fully back to create space underneath. Remove the plastic screw covers on the front sides of the seat rails with your fingers or a small tool. Use a 5/16″ socket wrench to unscrew the mounting bolts and lift out the seat if needed. Be aware that some models might have brackets or components to remove. Take care when disconnecting the battery: loosen the negative terminal first, then the positive. If present, detach the vent tube. The battery’s weight demands steady handling, so use the built-in handles or gloves for safety. Properly disconnecting and handling the battery can prevent remote work burnout and ensure safety during replacement. Additionally, understanding the battery location can help streamline the replacement process and reduce the risk of damage. Being familiar with Kia Tuning options can also be useful if you plan to upgrade or modify your vehicle after replacing the battery.
Tools Needed for Battery Removal and Replacement
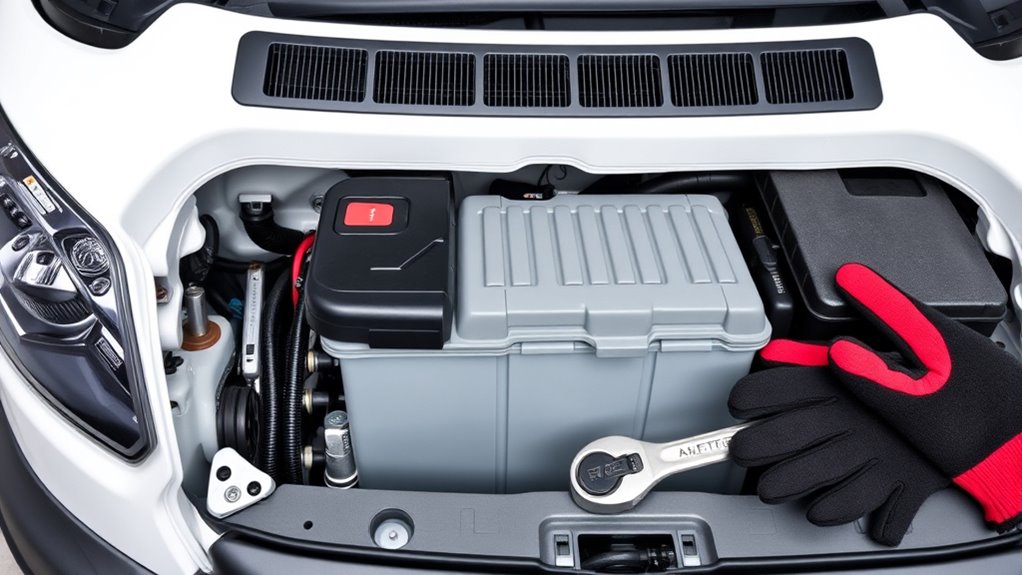
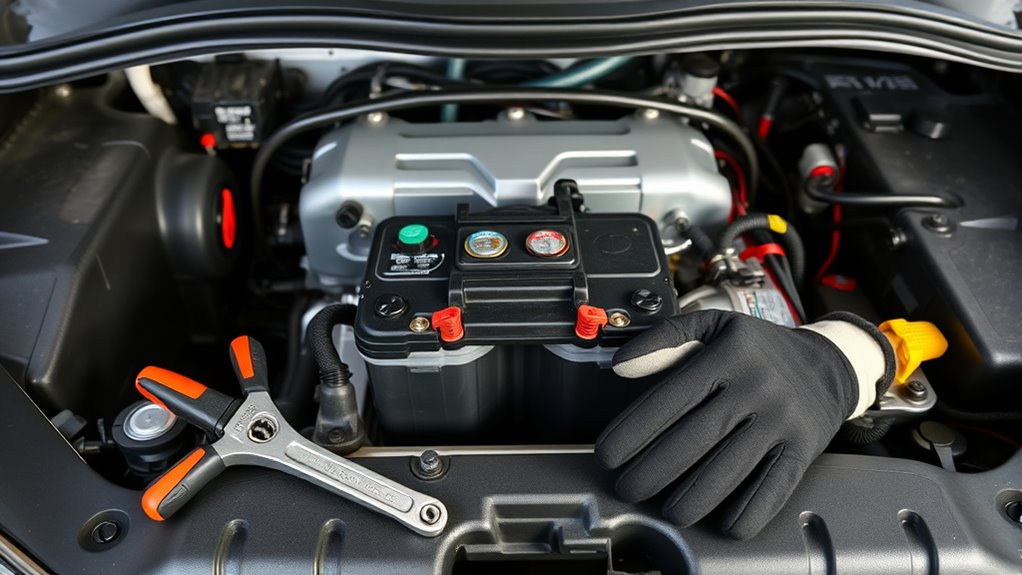
To remove or replace the battery in your Ford Transit, you’ll need a selection of basic hand tools and safety gear. These tools will help you safely disconnect and handle the battery and its components. A 10mm socket wrench is essential for loosening battery terminals and seat bolts. A ratchet or power drill with a socket adapter can speed up seat removal, while a flathead screwdriver helps pry off clips and open terminal covers. Extension bars may be necessary for hard-to-reach terminal bolts. An adjustable wrench is useful if the battery clamp bolts vary in size. Safety gear like insulated gloves protects against electrical shocks and acid exposure, and safety goggles prevent eye injuries during the process. Proper tools ensure a safe, efficient battery replacement. Additionally, understanding battery safety precautions can help you avoid potential hazards during replacement. Using the correct tool handling techniques can further enhance safety and efficiency during the process.
Step-by-Step Guide to Removing the Ford Transit Battery
Before removing the Ford Transit battery, make certain you have the necessary tools and safety gear ready. Start by folding the seats fully forward or backward to access the battery compartment, which is typically under the driver or rear seat rail. Remove any plastic molding or fabric trim covers by pulling tabs or sliding parts out of the way. If present, detach metal battery covers secured by bolts using the appropriate wrench. Next, carefully disconnect electrical clips or cables from the battery terminals—always remove the negative (ground) cable first to prevent shorts. Loosen clamp nuts with the correct wrench size, then unclasp any securing clips or fasteners. Handle the battery carefully, using lift handles if available, and rotate or maneuver it out of the compartment. Ensure the battery is properly secured and disconnected to avoid electrical hazards. Be mindful of battery safety procedures, including wearing protective gloves and eye protection, to prevent injury from acid or sparks. Remember that battery corrosion can affect the connection and performance, so inspecting the terminals for corrosion is advisable. Additionally, checking the battery’s age and condition can help determine if replacement is necessary. Follow these steps precisely to avoid damage or injury.
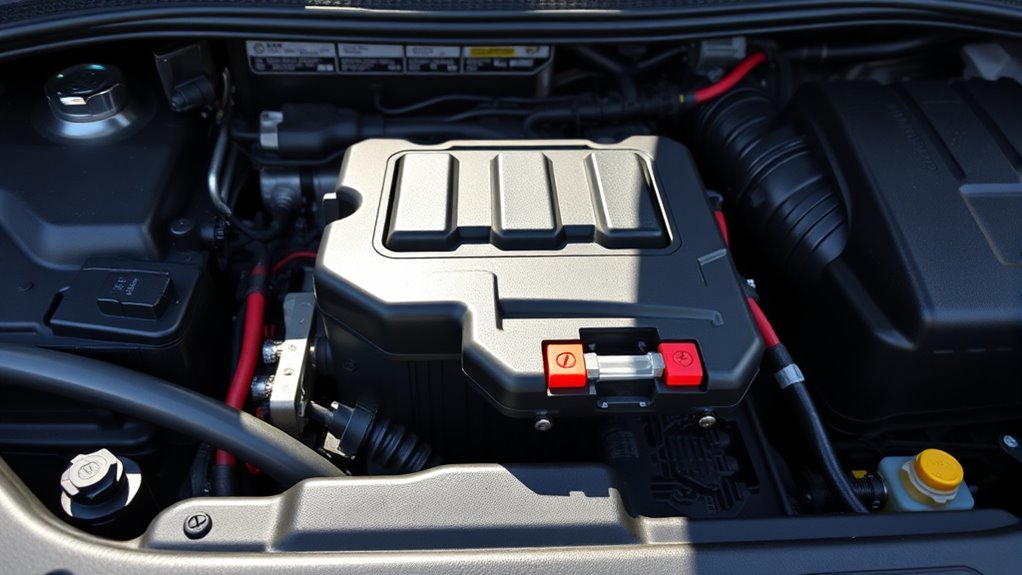
Proper Procedures for Jump-Starting Your Vehicle

Jump-starting your Ford Transit requires careful attention to the correct procedure to guarantee safety and prevent damage. First, locate the jump-start points—usually under plastic covers near the fuse box or on designated grounding bolts. Always consult your owner’s manual for exact locations. Connect the red (positive) clamp to the positive jump terminal, not the hidden battery, and the black (negative) clamp to a chassis ground or negative terminal. On the donor vehicle, attach the red clamp to its positive terminal and the black clamp to a solid grounding point. Start the donor engine first, then the Transit. After the engine runs smoothly, disconnect cables in reverse order. Proper identification of terminals is essential for safe operation. – Confirm proper terminal locations with the owner’s manual – Wear safety glasses and use insulated cables – Turn off all electrical components before connecting – Keep clamps from touching each other – Avoid connecting negative clamp directly to the dead battery always verify the battery location before proceeding.]
Installing a New Battery Safely and Correctly
Installing a new battery in your Ford Transit requires careful preparation and proper access to the battery compartment. Start by moving the driver’s seat fully back and tilting or leaning it forward to reach the battery cover. Remove the plastic screw covers and rail stop bolts with a 5/16” socket wrench. Clear any obstructions inside the vehicle, such as gear or seats, to fully expose the battery area. Remove the battery cover and brackets securing the battery, then carefully lift out the old battery using handles. Before installing the new battery, verify it’s oriented correctly with positive and negative terminals matching the cable connections. Secure the new battery with the bracket, reconnect the terminals—positive first, then negative—and reassemble any removed panels. Double-check clamps and connections for tightness before starting your vehicle. Additionally, ensure you’re aware of automated systems that may influence how the battery is handled or installed, as some models may have smart charging features that require specific procedures. To ensure safety and proper operation, always consult your vehicle’s owner’s manual before beginning the replacement process.
Troubleshooting Common Battery Problems

If your Ford Transit shows signs like slow cranking, corrosion on battery terminals, or the check engine light, your battery might be failing. You should also check for voltage issues caused by parasitic drains or faulty systems that can cause your battery to drain unexpectedly. Troubleshooting these problems helps identify whether corrosion, electrical faults, or other issues are behind your battery troubles. Regular testing of the battery’s voltage can help detect early signs of deterioration before complete failure occurs, allowing timely replacement or repair.
Signs of Battery Failure
Recognizing the signs of battery failure in your Ford Transit is essential to prevent unexpected breakdowns. If your engine cranks slowly or makes a loud clicking sound when starting, your battery may be weakening. You might notice the check engine light illuminating or dim interior lights during startup, indicating voltage issues. Intermittent starting problems after short trips or jump-start attempts suggest a failing battery. Physical signs like corrosion, leaks, swelling, or damaged terminals point to deteriorating battery health. Additionally, poor performance under load, such as sluggish cranking or difficulty maintaining engine speed, signals a declining battery. Be alert to these symptoms to catch battery issues early and avoid being stranded. Regular inspections and maintenance can help keep your Ford Transit reliable. Parasitic draw can also cause unexpected battery failures, especially if the vehicle is left inactive for extended periods.
Causes of Corrosion
Corrosion at the battery terminals occurs when chemical reactions between sulfuric acid inside the battery and the lead or lead alloy contacts cause metal deterioration. Hydrogen gas produced by these reactions escapes, speeding up corrosion, especially on the positive terminal. Overcharging increases hydrogen release, worsening the buildup. Adding excessive water during maintenance can cause acid to escape, promoting corrosion around the terminals. Environmental factors like high temperatures, humidity, and exposure to dirt or dust accelerate the process. Cracked or leaking casings allow sulfuric acid to seep out, damaging terminals and nearby components. As the battery ages or is poorly maintained, corrosion becomes more likely. This buildup appears as a white, blue, or greenish powder, which can impede electrical connections and reduce battery performance. Corrosion can also be caused by exposure to moisture and air contaminants, which further accelerates the deterioration process.
Troubleshooting Voltage Issues
When diagnosing voltage issues in your Ford Transit, measuring the battery’s resting voltage is the first step to identify potential problems. A healthy battery should read around 13 volts. If it drops below 11.5 volts, it likely needs charging or a jump-start. Use a multimeter or system monitors to confirm the reading. Fluctuations under load can point to deteriorating battery health or parasitic drain. If voltage stays within 11.5V to 13.0V, check the charging system for irregularities. Regular testing can help prevent unexpected failures.
- Check for parasitic draws from electronics or aftermarket systems
- Ensure interior lights or accessories are off when testing
- Use diagnostic tools like Forscan for real-time voltage data
- Look for inconsistent charging voltage from the alternator
- Reset fault codes and verify voltage stability above 13 volts
Tips for Maintaining Your Ford Transit Battery
Maintaining your Ford Transit’s battery is essential to guarantee reliable performance and prevent unexpected breakdowns. Regularly test the battery voltage with a voltmeter during scheduled maintenance, aiming for about 12.8 volts when fully charged. Conduct load tests to ensure the battery can deliver adequate power under stress. Check for corrosion on terminals and clean them with a brush and baking soda paste, tightening connections afterward. Protect the battery from extreme temperatures by parking in shaded or climate-controlled areas, especially during hot or cold weather. Replenish electrolyte levels in flooded batteries during warmer months. Use manufacturer-recommended or maintenance-free batteries, and consider upgrading to lithium for better longevity. Schedule routine inspections, and always disconnect the negative terminal first during maintenance to ensure safety. Additionally, get your voltage tested during dealer visits for other maintenance to detect issues early and maintain optimal battery performance.
Frequently Asked Questions
Can I Replace the Ford Transit Battery Myself?
Yes, you can replace the Ford Transit battery yourself if you have moderate mechanical skills and the right tools. Start by disconnecting the negative cable, then the positive, and remove the hold-down bar. Carefully lift out the old battery and position the new one securely. Reconnect the cables in the proper order, tighten everything, and reassemble any panels or seats. Always follow safety precautions and consider professional help if you’re unsure.
What Is the Recommended Battery Size for Ford Transit?
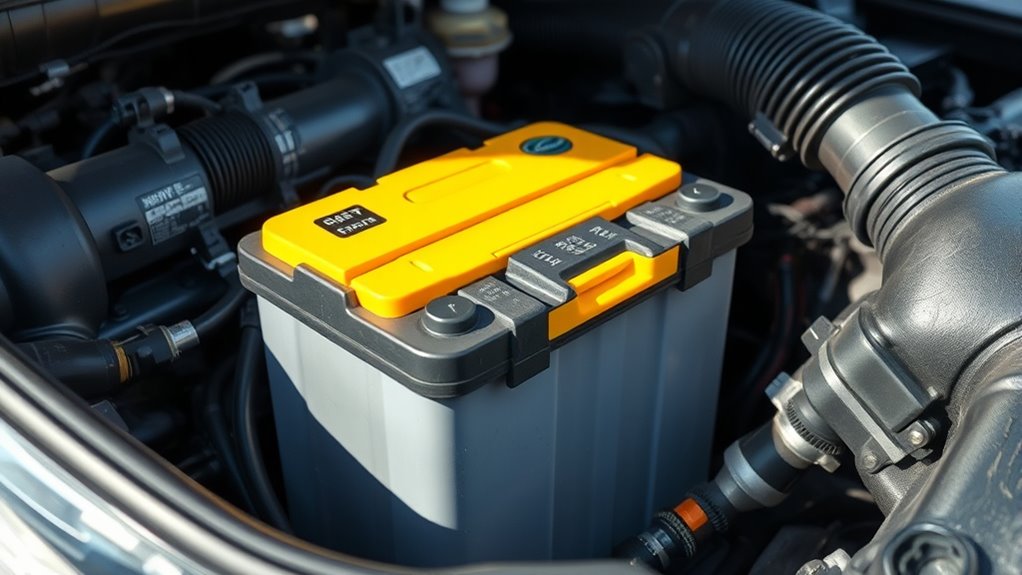
Did you know that most Ford Transit models use a 12-volt AGM or flooded lead-acid battery? The recommended size is typically Group 65 or H6, with a capacity of around 65Ah to 100Ah. For reliable starting power in all weather, aim for a battery with at least 800-850 CCA. Always match or slightly exceed the original specs for peak performance and longevity.
How Often Should I Check My Ford Transit Battery?
You should check your Ford Transit battery at least twice a year for visual signs like corrosion or leaks, and perform a full health test annually, especially after three years of use. If you drive frequently short distances, operate in extreme climates, or notice slow starts, check more often. Regular inspections guarantee your battery stays reliable, preventing unexpected failures and keeping your vehicle running smoothly.
Is It Safe to Jump-Start Without Removing the Battery?
Did you know that over 80% of vehicle owners try to jump-start their cars without removing the battery? Jump-starting your Ford Transit without removing the battery can be safe if you use factory jump posts under the hood. Just make certain you connect the cables correctly—positive to positive and negative to a solid ground—and avoid contact with metal parts. Always exercise caution to prevent sparks or damage, especially if you’re unsure.
What Are Signs My Ford Transit Battery Needs Replacement?
Your Ford Transit needs a battery replacement if you notice slow engine cranks, repeated starting issues, or dimming lights. Look for corrosion on terminals, leaks, or physical damage like cracks or bulges. If warning lights appear on your dashboard or the battery struggles to hold a charge despite charging, it’s time to replace it. Frequent jump-starts and parasitic drain signs also indicate the battery’s health has declined and needs attention.
Conclusion
Knowing how to locate and replace your Ford Transit battery keeps you prepared and saves money on repairs. Regular maintenance can extend your battery’s lifespan, with studies showing that proper care can increase battery life by up to 50%. By following these simple steps, you guarantee your van stays reliable on the road. Stay proactive, and your Transit will perform better and last longer—saving you time and expense in the long run.