Installing roof vents correctly is key to keeping your transit camper cool and well-ventilated. Position vents near the highest points of your roof to let hot air escape naturally, and opt for solar-powered models to guarantee continuous airflow without wiring worries. Proper sealing prevents leaks, and regular maintenance keeps everything running smoothly. Upgrading insulation and sealing gaps further improves temperature control. Keep these tips in mind—soon, you’ll discover how to maximize your camper’s comfort and efficiency.
Key Takeaways
- Properly position vents near the roof’s highest points to facilitate natural hot air escape and improve airflow.
- Use durable, solar-powered vents for automatic ventilation without wiring or energy costs.
- Seal all vents tightly during installation to prevent leaks and drafts, ensuring a weatherproof fit.
- Combine insulation upgrades with roof vents to regulate interior temperatures and prevent condensation.
- Regularly inspect and clean vents to maintain optimal airflow and ventilation efficiency inside the camper.

Are you looking to improve your home’s ventilation and prevent costly damage? Proper roof vent installation is a smart way to achieve this, especially if you’re aiming to keep your transit camper cool and well-ventilated. When you prioritize good airflow, you reduce heat buildup and moisture accumulation, which can otherwise lead to mold, rot, and structural issues over time. One effective approach is integrating solar-powered vents into your roof design. These vents harness sunlight to operate, meaning you don’t have to worry about electricity costs or wiring complications. Solar power-based vents automatically draw in cool air and expel hot air, creating a continuous cycle that keeps your camper comfortable regardless of the weather outside. Plus, they’re eco-friendly and energy-efficient, making them a sustainable choice for any traveler.
Alongside installing solar-powered vents, consider making insulation upgrades to your camper. Upgrading insulation helps regulate internal temperatures, keeping the heat out during summer and retaining warmth during colder months. When combined with proper roof vent installation, insulation upgrades create a balanced environment that minimizes the need for excessive air conditioning or heating. This synergy ensures your camper stays cooler in the heat, while also preventing condensation and moisture buildup that can damage your interior and insulation layers. As you upgrade your insulation, pay attention to areas around existing vents and potential gaps, sealing them effectively to prevent drafts and leaks.
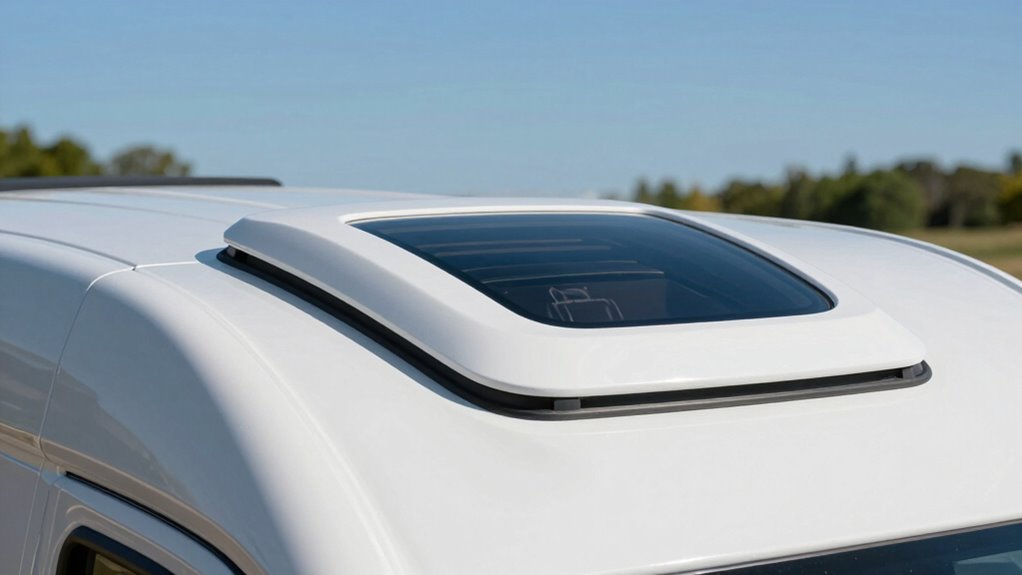
Installing roof vents isn’t just about adding hardware; it’s about creating a system that maximizes airflow and energy efficiency. Proper placement is essential—aim for vents near the highest points of your roof to facilitate natural convection, where hot air rises and exits through the vent, pulling in cooler air from below or through other openings. When selecting vents, look for models that are durable, weather-resistant, and compatible with solar power options. During installation, ensure that vents are sealed tightly to prevent leaks, but also easy to access for maintenance or cleaning. Regularly inspecting and cleaning your vents guarantees they operate at peak efficiency, helping you enjoy a consistently cool and fresh interior environment.
Frequently Asked Questions
How Do I Choose the Right Roof Vent Size for My Camper?
When choosing the right roof vent size for your camper, consider vent size considerations like airflow needs and space limitations. Measure your camper roof’s compatibility, ensuring the vent fits securely without overhanging or causing leaks. Larger vents offer better ventilation, but you don’t want one that’s too big, compromising your roof’s integrity. Balance your ventilation needs with camper roof compatibility to select a vent that keeps your space cool and well-ventilated.
Can Roof Vents Be Installed on Any Type of Camper Roof?
Sure, you can install roof vents on any camper roof—if your roof isn’t too delicate or too heavy. Roof material and weight matter; a lightweight, sturdy surface like fiberglass handles vents well, while flimsy or overly heavy roofs might resist or sag. So, before dreaming of perfect airflow, check your camper’s roof type. Otherwise, you might just be venting your patience instead of your camper.
What Tools Are Necessary for a Professional Installation?
You need a power drill, screwdriver, measuring tape, utility knife, caulk, and a caulking gun for a professional roof vent installation. A ladder is essential for reaching your camper roof safely, while roofing screws secure the vent. Safety goggles protect your eyes, and a sealant gun guarantees a watertight seal. Use these tools to measure accurately, drill holes, install the vent, and seal edges properly for a durable, professional finish.
How Long Does a Typical Roof Vent Installation Take?
Installing a roof vent is like opening a window to fresh air—it typically takes 2 to 4 hours, depending on your roof vent material and experience. The installation cost varies, but expect it to include both materials and labor. You’ll want to guarantee proper sealing and ventilation, so don’t rush. With the right tools and patience, you’ll have your camper cooler and more comfortable in no time.
Are There Any Maintenance Tips to Ensure Longevity of the Vent?
To keep your roof vent lasting, regularly clean the vent to prevent debris buildup and guarantee proper airflow. Check and reseal with high-quality sealant to prevent leaks and water damage. Inspect the vent’s moving parts and lubricate if needed to maintain smooth operation. By performing these simple maintenance tasks, you’ll extend the lifespan of your vent and keep your camper cool and well-ventilated on every trip.
Conclusion
Think of your camper as a sailboat on open waters—without proper ventilation, it can become stuffy and stifling. Installing a roof vent is like unfurling your sail, allowing fresh air to flow freely and keep everything inside cool and comfortable. Just as a sail catches the wind to steer smoothly, your vent guides airflow, ensuring your journey remains enjoyable. With this simple upgrade, you’re setting your camper up for smooth sailing, no matter where the road takes you.