
To achieve a professional look with your interior wall paneling, focus on finishing touches like sealing seams with caulk or trim, sanding edges for smoothness, and applying a quality finish or sealant. Incorporate contrasting paint or borders to add depth, and guarantee precise measurements for a flawless fit. Proper surface prep and using the right tools make a big difference. If you want to discover more expert tips, keep exploring ways to enhance your paneling project.
Key Takeaways
- Seal seams and edges with caulk or trim for a seamless, refined appearance.
- Sand edges and surface areas for smooth, professional finishes.
- Apply primer and high-quality paint or sealant for durability and vibrant color.
- Incorporate decorative borders, contrasting paint, or patterns to enhance visual interest.
- Use precise measurements and systematic installation techniques to ensure a polished, high-quality result.
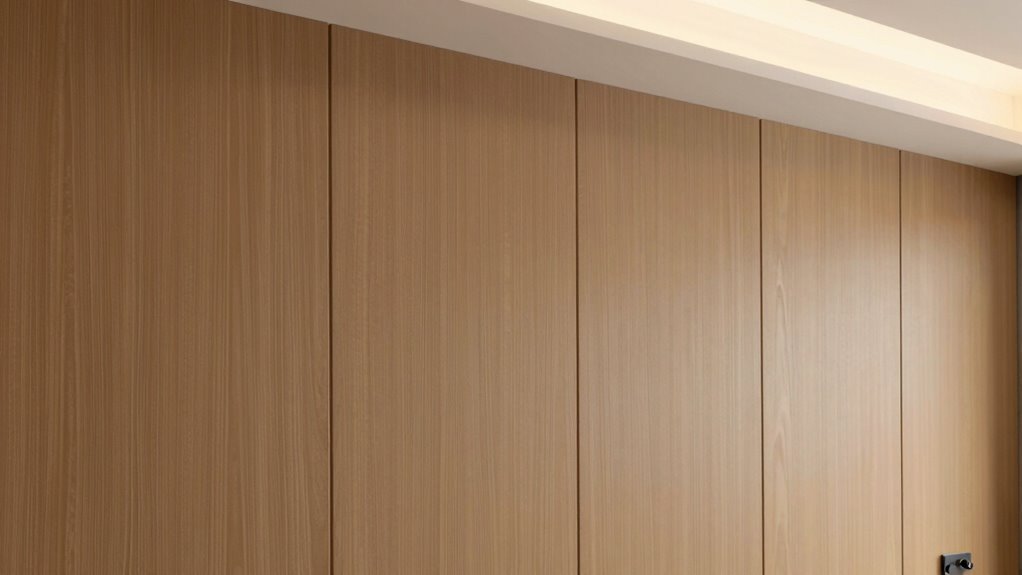
Are you looking for a way to instantly upgrade your space? Interior wall paneling offers a stylish and practical solution that can transform any room with minimal effort. When it comes to achieving a professional look, paying attention to decorative techniques is key. There are various ways to enhance the visual appeal of your paneling, from adding contrasting paint or stain to incorporating decorative moldings or trims. You might also consider experimenting with different textures or patterns to create depth and interest. The goal is to make sure your panels don’t look plain or haphazard; instead, they should complement your overall decor and add a sense of sophistication.
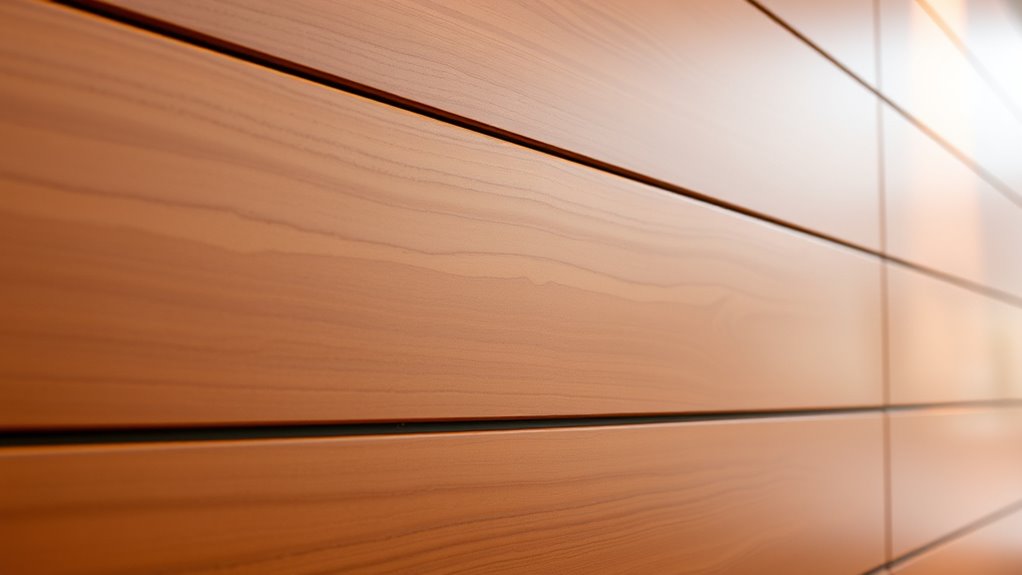
Getting your installation just right is vital for achieving a polished finish. Start with clean, smooth walls—any imperfections will be more noticeable once the panels are up. Follow precise installation tips, such as measuring twice and cutting once, to guarantee your panels fit perfectly. Using the right fasteners and adhesive can also make a big difference; for example, some panels require specific screws or nails, and proper spacing will help prevent warping or gaps over time. When installing, work systematically from one corner to the other, making sure each panel aligns properly with the next. Don’t forget to leave room for expansion if you’re using wood panels—this prevents buckling or cracking down the line. Additionally, understanding wall surface preparation is essential to ensure your paneling adheres properly and maintains its appearance over time. Proper surface preparation can reduce the need for repairs or adjustments later on, ensuring a seamless finish. Incorporating smart home technology solutions, like temperature or lighting controls, can also enhance the functionality of your space and ensure your wall treatments complement modern living features.
Achieve a polished look with precise measurements and proper fastening techniques.
A professional look isn’t just about the materials you choose but also how you handle the finishing touches. Sealing seams with caulk or trim can hide any imperfections and give your project a seamless appearance. Sanding any rough edges before painting or staining ensures a smooth, refined surface. When applying finishes, use quality brushes or rollers to avoid streaks and uneven coverage. If you opt for painted panels, consider using a primer first to enhance durability and color vibrancy. For stained panels, a protective sealant will help preserve the finish and make cleaning easier. Incorporating decorative techniques during installation can elevate your wall paneling from simple to stunning. For example, adding a decorative border or a contrasting band of paint can frame the panels nicely. Installing panels in a pattern, such as herringbone or vertical planks, can also add visual interest. Additionally, researching paneling materials can help you select the right options for durability and aesthetic appeal. Remember, patience and attention to detail are your best allies in creating a professional, high-quality look. With careful planning, precise installation tips, and creative decorative techniques, your interior wall paneling will look like it was done by a seasoned professional, bringing warmth and style to your space.
Frequently Asked Questions
What Are the Best Paneling Options for High-Moisture Areas?
For high-moisture areas, you should choose moisture-resistant materials like PVC or vinyl paneling, which resist mold and warping. These options are durable and easy to maintain. Complement them with waterproof finishes to enhance protection against water damage. Using these materials and finishes guarantees your walls stay looking professional and last longer, even in humid environments like bathrooms or kitchens.
How Can I Remove Old Wall Paneling Without Damaging the Wall?
Thinking of a daring rescue mission to remove old wall paneling without wrecking your wall? Start with gentle panel removal techniques: pry carefully with a putty knife, work from the edges, and avoid brute force. Wall preparation tips include scoring the panel seams and using a heat gun for stubborn spots. Take your time, stay patient, and you’ll preserve your wall while reclaiming your space—no drywall disasters needed.
What Maintenance Does Finished Wall Paneling Require?
You should establish regular cleaning routines, like dusting with a soft cloth and wiping with a damp, mild cleaner to keep your finished wall paneling looking great. To prevent damage, avoid abrasive scrubbers or harsh chemicals. Check for any signs of wear or damage periodically, and address issues promptly. Proper maintenance guarantees your paneling stays attractive and durable, preserving its professional appearance over time.
Can Wall Paneling Be Painted or Stained After Installation?
Yes, you can paint or stain your wall paneling after installation. Use proper painting techniques like priming first, then applying even coats for a smooth finish. When staining, choose from a variety of stain color options to match your decor. Sand lightly between coats for a polished look. Both methods enhance the appearance and protect the paneling, giving your space a fresh, professional finish that lasts.
How Do I Choose Paneling That Matches My Interior Decor?
Choosing paneling that matches your decor style transforms your space into a masterpiece. Start by identifying your existing color palette and decor vibe—modern, rustic, or classic—and select paneling in complementary hues and textures. Consider the paneling’s material and finish to harmonize with your furniture and accessories. Trust your instincts; the right choice will elevate your room and make your decor look like it was designed by a pro.
Conclusion
With the right interior wall paneling, your space transforms like a blank canvas bursting into vibrant life. These finishing touches add a polished, professional look that elevates your home’s style. Whether you choose sleek modern panels or rustic wood, you’re creating a backdrop that’s both functional and beautiful. So, take your time, select the perfect panels, and enjoy the satisfying process of turning your walls into a stunning feature, just like a masterpiece coming to life.