
When your Ford Transit’s check engine light comes on, you should connect an OBD-II scanner via the 16-pin port under the dashboard and look up the fault codes. These codes help identify what’s wrong, whether it’s a minor sensor issue or something more serious. If the light flashes or you notice performance problems, stop driving immediately to prevent damage. Keep reading to learn how to interpret those codes and what steps to take next.
Key Takeaways
- Connect an OBDII scanner via the 16-pin port under the dashboard and select “Read Codes” to retrieve fault codes.
- Recognize common trouble codes like P0302 (misfire) or P0443 (evaporative system) for initial diagnostics.
- Critical codes or flashing lights require immediate vehicle stop and professional inspection to prevent engine damage.
- Interpret the codes to identify specific issues and prioritize repairs based on severity and safety risks.
- After clearing codes, monitor vehicle performance and have a mechanic perform a thorough check if problems persist.
Understanding the Check Engine Light and Its Significance
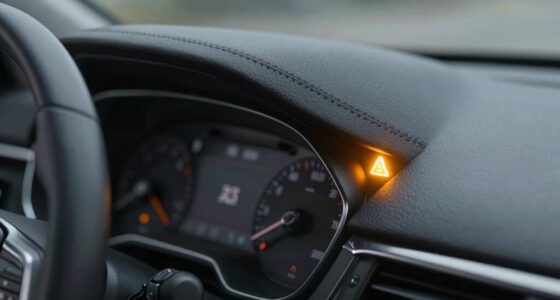
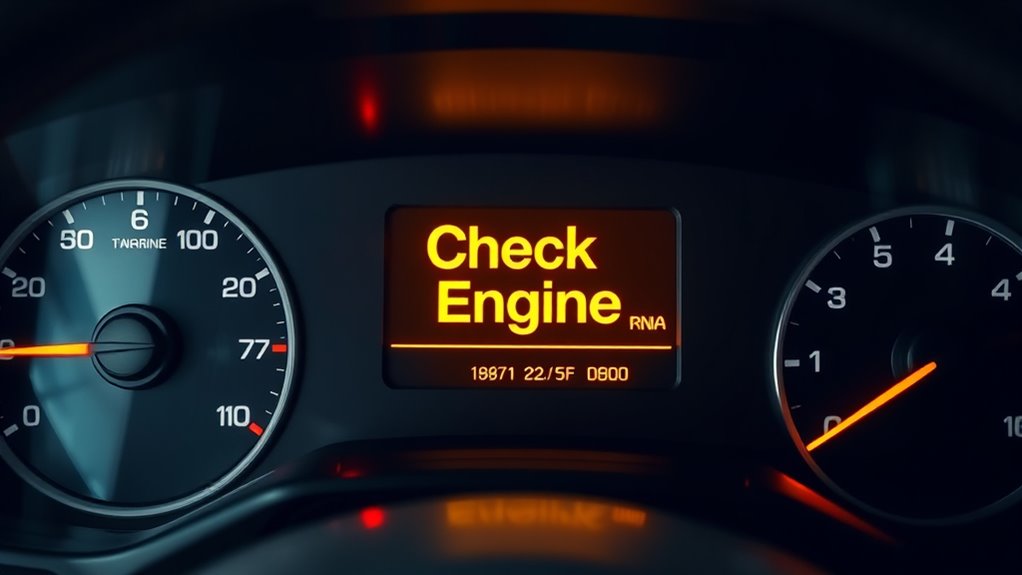
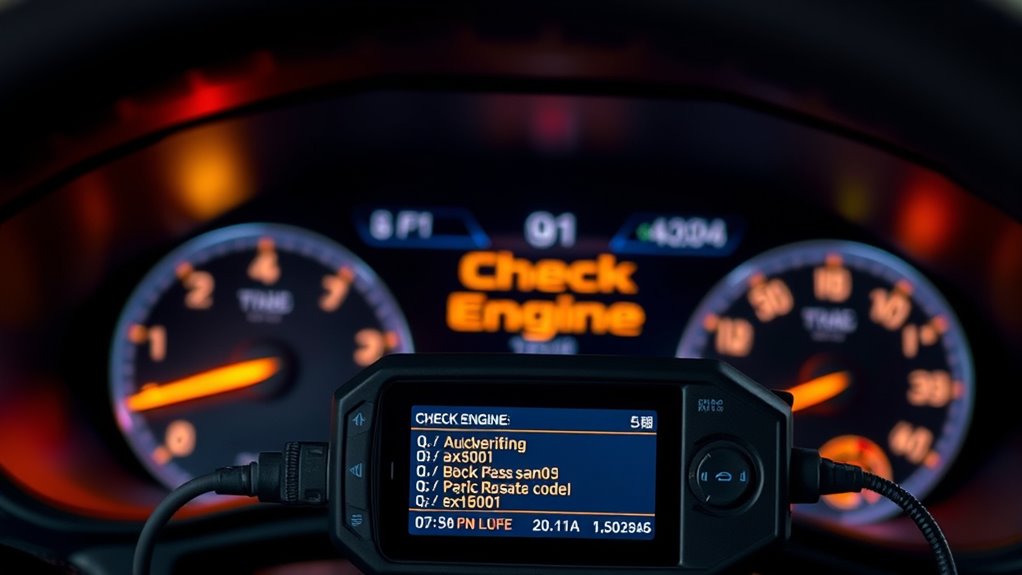
The check engine light (CEL) is a crucial warning indicator that alerts you to potential problems with your vehicle’s engine or emissions system. When it lights up, it’s your vehicle’s way of signaling that something isn’t right. The light appears as an amber or red icon, or sometimes with words like “check engine” or “service engine soon.” It monitors multiple systems, detecting irregularities that could affect your car’s performance or emissions. The light can stay steady, indicating minor issues, or flash in more serious cases, which mean you need immediate attention. When the CEL activates, it stores fault codes in the engine control unit (ECU), helping technicians diagnose problems. Recognizing its significance helps prevent further damage and keeps your vehicle running smoothly. The MIL’s appearance can also be triggered by non-fault conditions, such as sensor malfunctions or temporary overloads. Additionally, advancements in AI detection methods are enhancing the accuracy of diagnosing vehicle issues through automated systems. Understanding the fault codes stored within the ECU can provide specific insights into the underlying problem, facilitating quicker repairs and resolutions.
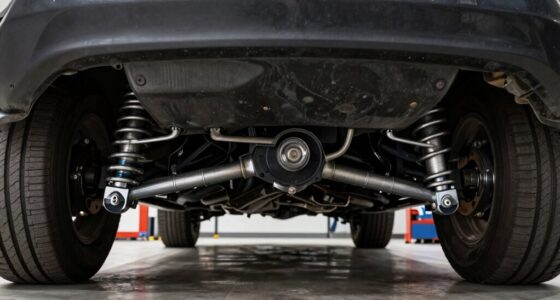
Common Causes of Transit Check Engine Alerts
Many transit check engine alerts stem from relatively simple issues that you can often fix yourself. A loose or missing gas cap is a common culprit, causing vapor leaks that trigger the light. Sometimes, oxygen sensors fail, disrupting exhaust monitoring and fuel regulation. Fuel and air metering problems—like dirty MAF sensors or faulty injectors—also cause alerts, affecting engine performance. Worn spark plugs or ignition faults lead to misfires, reducing efficiency. Emissions system issues, such as a damaged catalytic converter, or transmission problems can also set off the warning. Recognizing these causes helps you address problems quickly. Proper understanding of the emissions system can also assist in diagnosing check engine alerts more effectively. Additionally, staying aware of vibrational energy and how it impacts engine performance can provide insights into underlying issues. Monitoring automated diagnostics data can help pinpoint exact faults more efficiently. Here’s a quick overview:
| Cause | Symptoms | Solution |
|---|---|---|
| Loose Gas Cap | Vapor leaks, engine light on | Tighten or replace cap |
| Faulty O2 Sensor | Poor fuel economy, emissions | Sensor replacement |
| Spark Plug Wear | Misfires, rough idling | Replace spark plugs |
Recognizing When to Stop Driving Your Vehicle
Recognizing when to stop driving your vehicle is crucial for safety and preventing costly damage. A flashing check engine light signals a serious problem, often an engine misfire, which can damage the catalytic converter. If the light appears with the Stop Safely Warning Lamp, pull over immediately to avoid severe engine damage. Noticeable power loss, unusual noises, or safety warning lights like collision alerts also indicate you should stop as soon as it’s safe. Continuing to drive with a flashing or critical warning can cause irreversible damage, disable safety systems, and increase repair costs. If you’re unsure about the severity, reduce your speed, avoid heavy acceleration, and find a safe spot to stop. Prioritizing safety helps prevent further damage and ensures proper diagnostics. The severity of engine issues can escalate quickly, making prompt action essential. Being aware of on-device AI capabilities and how they can assist in diagnostics is also beneficial for understanding vehicle status and potential issues. Additionally, understanding diagnostic trouble codes can help you interpret the severity and necessary next steps before seeking professional assistance. Regularly monitoring your vehicle’s warning light system can also provide early indications of potential problems, allowing for timely maintenance.
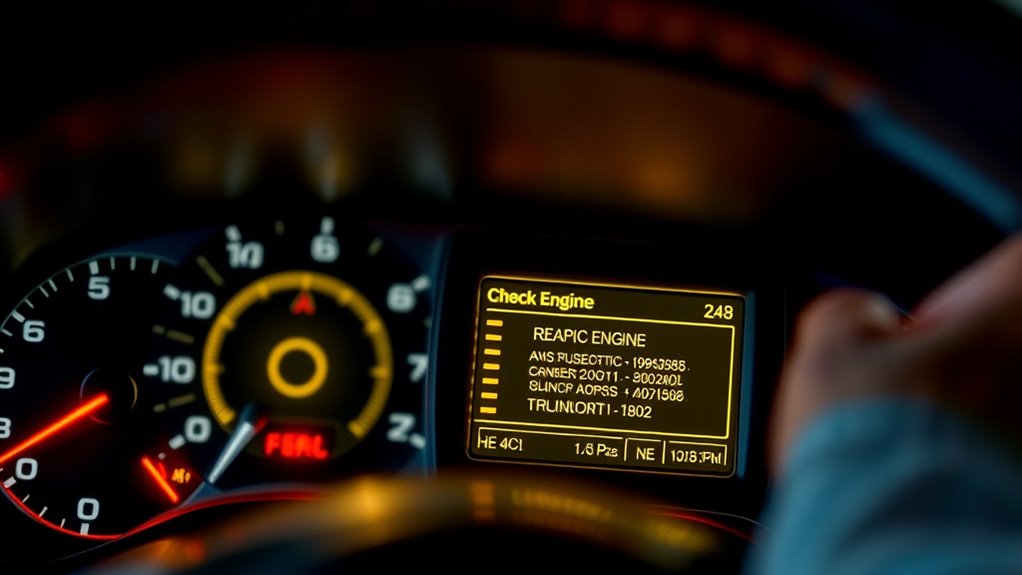
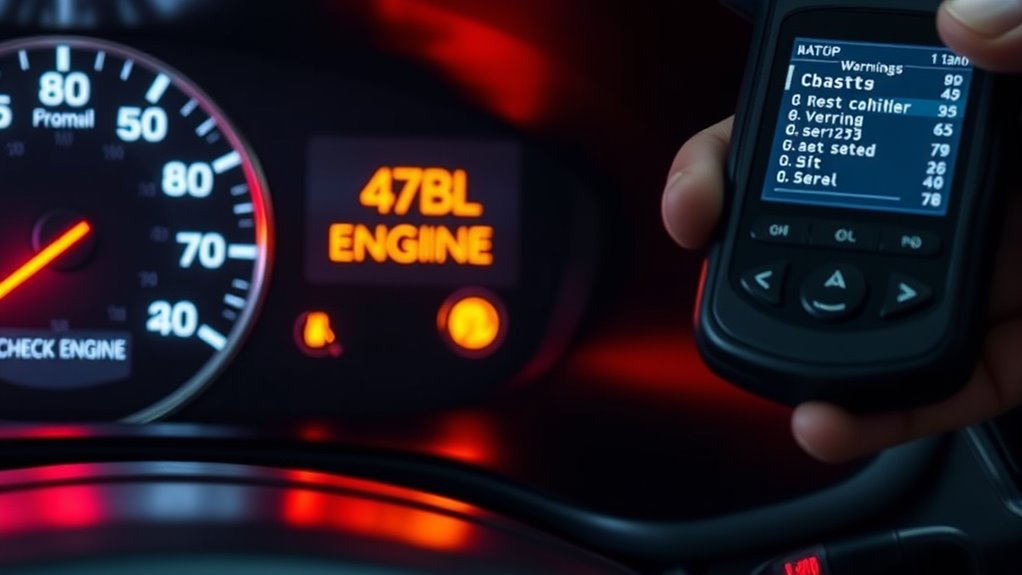
Using an OBD-II Scanner to Read Diagnostic Codes
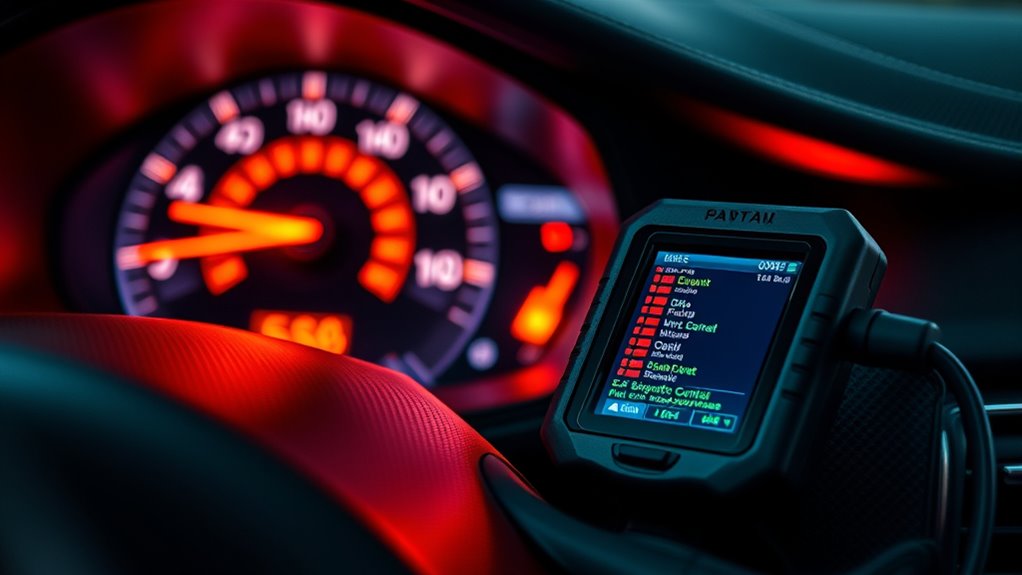
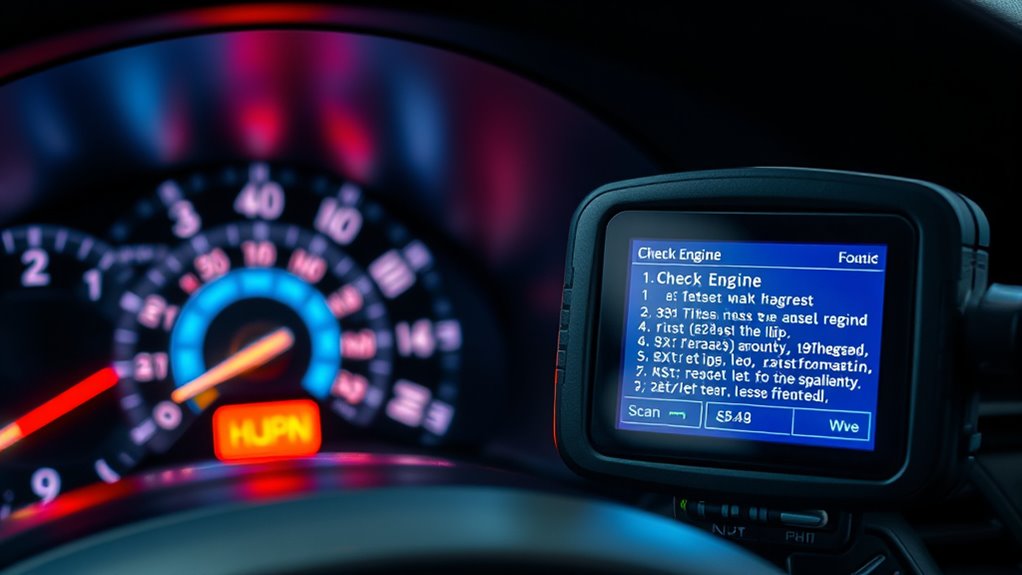
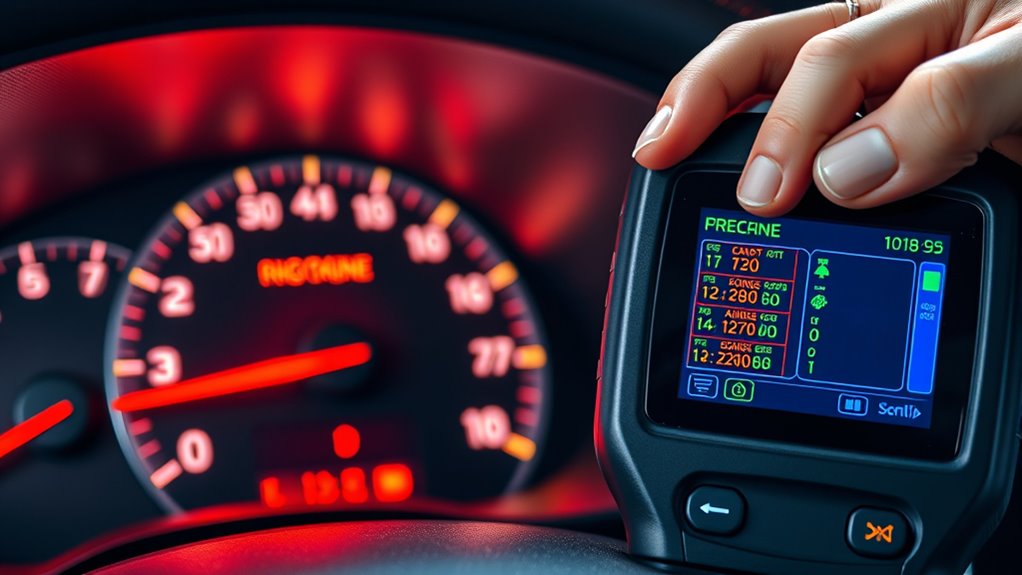
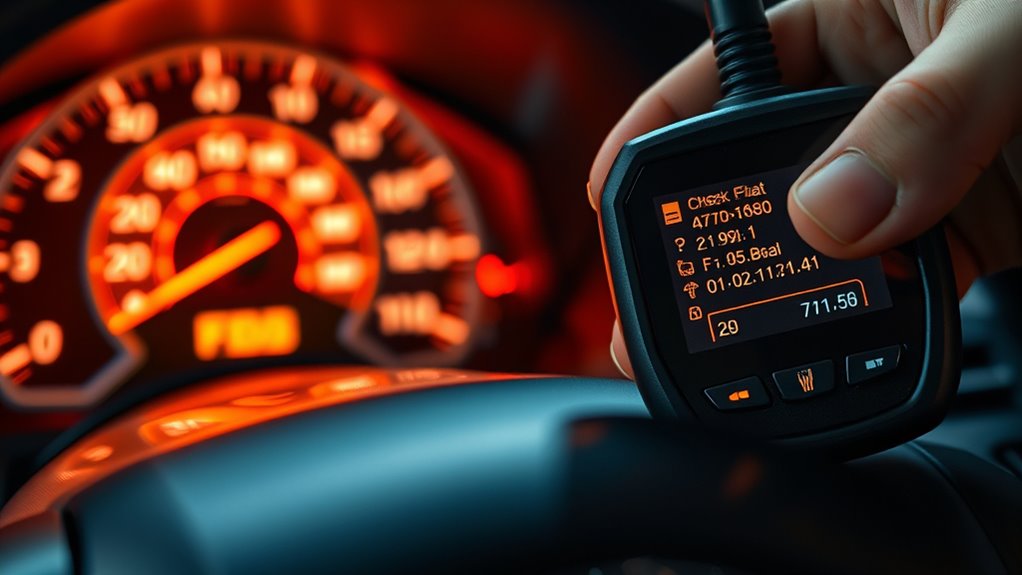
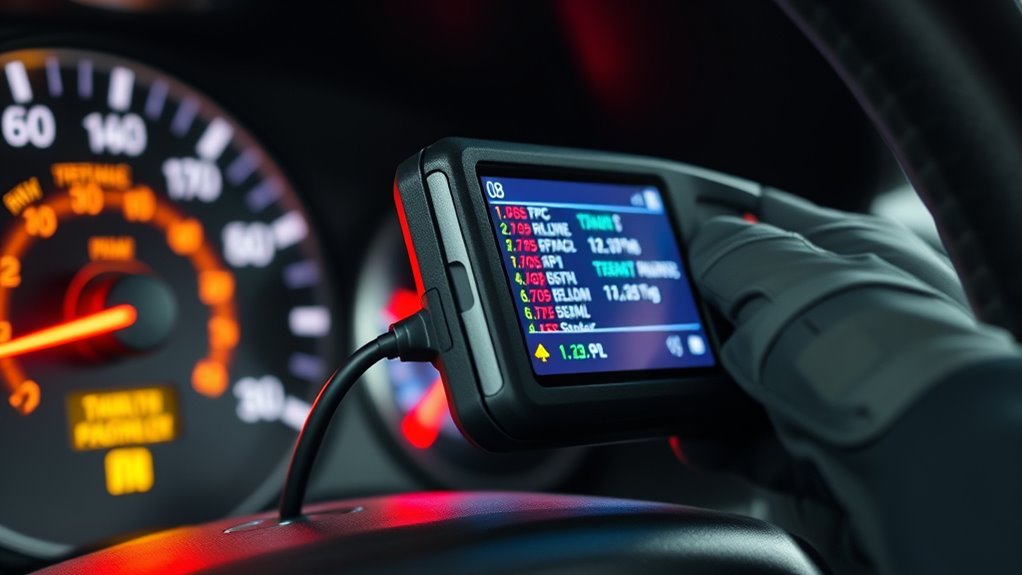
Once you’ve noticed a check engine light or other warning indicators, connecting an OBD-II scanner allows you to quickly access diagnostic information. Find the 16-pin port, usually under the driver’s dashboard near the steering column, and connect your scanner via wired, WiFi, or Bluetooth. Turn the ignition to the ON position or start the engine to power the scanner and establish communication. Most scanners display a menu with options like “Read Codes,” “Erase Codes,” and “Live Data.” Select “Read Codes” to view stored Diagnostic Trouble Codes (DTCs), along with brief descriptions if available. This step helps you identify issues without guesswork, giving you immediate insight into what might be causing the warning lights. Proper connection and power are essential for accurate code retrieval. The OBD2 system is standardized across most vehicles made after 1996, ensuring compatibility and consistent diagnostic procedures. Understanding diagnostic trouble codes can help you interpret the issues more effectively and decide on the appropriate next steps. Additionally, familiarizing yourself with common trouble codes can expedite troubleshooting and repairs.
Interpreting Typical Ford Transit Trouble Codes
Interpreting Ford Transit trouble codes requires understanding what each code signifies and how it relates to your vehicle’s performance. For example, codes like P0302 and P0303 indicate misfires in cylinders 2 and 3, often caused by ignition or fuel issues. EVAP system codes such as P0443, P0446, and P0450 point to problems with the purge valve, vent control, or pressure sensors. Transmission-related codes like P0705, P0710, and P0720 suggest issues with the transmission range, fluid temperature, or speed sensor circuits. Gear ratio errors, such as P0731 to P0734, signal mechanical or sensor faults. Engine and sensor codes, like P0118 and P0130 series, reveal sensor malfunctions or circuit problems. Recognizing these codes helps you pinpoint specific issues and prioritize repairs effectively. Consulting detailed fault code explanations can further improve diagnostic accuracy and guide proper repairs. Additionally, understanding trouble code patterns can assist in identifying broader vehicle system issues and prevent unnecessary repairs. Knowing how to interpret diagnostic trouble codes can also save time and money by targeting the exact problem area, especially when combined with proper diagnostic tools and techniques.
Symptoms That May Accompany a Check Engine Light
When your Ford Transit’s check engine light comes on, it often signals underlying issues that can range from minor to severe. You might notice engine misfires, causing vibrations or a rough idle, or experience a noticeable loss of power and sluggish acceleration. Fuel efficiency may drop, and you might see increased exhaust emissions, indicating problems with emissions control components. Electrical symptoms like poor ignition, sensor errors, or erratic engine behavior such as stalling or hesitation can also occur. A flashing light is a clear sign of a serious problem, like engine misfire, requiring immediate attention to prevent costly damage. Ignoring these symptoms increases the risk of breakdowns or safety hazards, so early diagnostics and repairs are essential to maintain your vehicle’s reliability. Understanding diagnostic codes can help you better interpret the specific issues indicated by the check engine light. The check engine light typically resets after fixing the issue or driving a certain distance, but if it remains on, professional diagnosis is necessary.
Prioritizing Repairs Based on Diagnostic Codes
Prioritizing repairs based on diagnostic codes is essential to guarantee your vehicle’s safety and minimize downtime. You should categorize codes as critical, major, or minor, depending on their urgency and impact. Critical codes demand immediate attention to prevent safety hazards or severe damage, often affecting engine or safety systems. Major codes should be addressed soon but can typically wait a few weeks. Minor codes usually involve non-urgent issues or sensor noise, which can often be scheduled during regular maintenance. Understanding the severity helps you allocate repair resources effectively, ensuring safety takes precedence while avoiding unnecessary delays. By evaluating the system affected and using code definitions, you can make informed decisions about repair priorities, reducing risks and vehicle downtime. Proper interpretation of codes is vital for effective prioritization and maintenance planning.
Professional Diagnostics: Why Expert Help Matters
Accurate diagnostics rely on expert knowledge and specialized training that most vehicle owners don’t possess. Professional technicians stay current through ongoing hands-on training, mastering the complexities of modern vehicle systems. They understand wiring diagrams and computer-controlled components, which are essential for precise diagnosis. By interpreting Diagnostic Trouble Codes (DTCs) beyond surface meanings, they prevent unnecessary repairs and focus efforts efficiently. Experts verify issues through test drives and visual inspections, ensuring they replicate symptoms before proceeding. They isolate and test individual parts with nearly 99% accuracy, avoiding assumptions based solely on fault codes. Using advanced diagnostic tools, they generate detailed reports, helping identify true system failures. Proper diagnostics require continuous education and familiarity with evolving technology. This structured, logical approach minimizes guesswork, saves money, and guarantees that repairs address the root cause—offering peace of mind that your vehicle is in capable hands. Additionally, technicians’ familiarity with vehicle technology allows them to adapt quickly to new models and systems. Maintaining a thorough understanding of automotive electronics is crucial as vehicles increasingly incorporate complex electronic modules. Moreover, understanding diagnostic procedures helps ensure that diagnostics are thorough and reliable.
Preventive Maintenance to Avoid Future Check Engine Issues

Following the manufacturer’s recommended maintenance schedule is essential for preventing future check engine issues. Regular oil changes reduce engine wear and lower the chances of triggering alerts. Replacing air and fuel filters on time keeps your engine running efficiently. Scheduled tune-ups help identify early problems like worn spark plugs before they cause misfires. Routine checks of fluids such as coolant and transmission fluid prevent overheating and mechanical failures. Inspecting and replacing wearable components like spark plugs, belts, and hoses ensures ideal performance, while faulty oxygen sensors or loose gas caps can set off warning lights. Using quality fuel and fluids minimizes buildup and sensor malfunctions. Maintaining emission systems and adopting good driving habits further reduces the risk of future engine problems, helping you avoid costly repairs down the line. Proper maintenance also extends the overall lifespan of your vehicle, saving money in the long run. Regularly monitoring your vehicle’s air quality sensors can help detect issues early and maintain optimal engine performance. Additionally, inspecting engine components regularly can prevent minor issues from escalating into major repairs. Incorporating preventive maintenance tools can further assist in identifying potential problems before they become serious.
Next Steps After Resetting the Check Engine Light
After resetting the check engine light, you should closely monitor how your vehicle performs during your drives. If issues persist or the light comes back, it is crucial to schedule a diagnostic check with a professional. Addressing underlying problems promptly helps prevent further damage and keeps your transit running smoothly. Ignoring warning signs can lead to more serious engine damage, so staying attentive to any unusual sounds or performance changes is essential. Additionally, understanding the latest breakthroughs in machine learning tech can improve diagnostic tools used by professionals, leading to more accurate and faster problem resolution. Recognizing the importance of financial planning during vehicle repairs can also help manage unexpected costs effectively.
Monitor Vehicle Performance
Once you’ve reset the check engine light, it’s vital to closely monitor your vehicle’s performance to verify the issue has been resolved and the system is functioning correctly. Pay attention to any engine sounds, vibrations, or warning lights on the dashboard. During your drives, confirm you’re completing the necessary drive cycles, which include city and highway conditions, to allow the onboard computer to relearn operating parameters. Aim for 50 to 100 miles of varied driving, including acceleration, deceleration, and steady cruising. Regularly check fluid levels, tire pressures, and lighting to support peak performance. Monitoring these aspects helps catch lingering problems early and confirms that emissions and engine systems are operating properly, preventing minor faults from developing into major issues. Additionally, monitoring sensor readings and trouble codes with a scan tool can provide detailed insights into the vehicle’s ongoing health.
Schedule Diagnostic Check
Scheduling a diagnostic check is a crucial step after resetting your check engine light because it helps uncover any underlying issues that may not have been fully resolved. Without it, you risk recurring problems or damage. A professional diagnostic can identify hidden faults, saving you money and ensuring safety. It also confirms that your vehicle meets emissions and safety standards, helping maintain warranty and resale value.
| Key Factors to Consider | Benefits of Timely Checks |
|---|---|
| Warranty requirements | Detects intermittent faults that may cause safety concerns |
| Cost and service fees | Verifies repairs to prevent reoccurrence |
| Qualified technicians | Ensures accurate diagnosis and effective repair |
| Manufacturer recommendations | Keeps vehicle running efficiently |
| Recurrence of warning light | Provides peace of mind and ongoing vehicle health |
Address Underlying Issues
How do you guarantee that your check engine light doesn’t keep coming back? The key is addressing the root cause, not just clearing codes. First, identify faulty sensors like the MAF, oxygen, or EGR, and repair or replace them as needed. For emissions issues, check for simple fixes like tightening a gas cap or cleaning a clogged EGR valve. If the problem involves ignition coils or fuel injectors, these parts need proper replacement to prevent misfires and poor performance. Don’t ignore electrical or cooling system problems—faulty wiring, weak batteries, or overheating can trigger the light repeatedly. Remember, clearing codes without fixing underlying issues only delays repairs and risks further damage. An unaddressed problem can lead to more costly repairs over time and may cause the light to stay on longer. Proper diagnosis and targeted repairs ensure the warning stays off, keeping your vehicle running smoothly.
Frequently Asked Questions
Can the Check Engine Light Indicate a Non-Emissions Related Problem?
Yes, your check engine light can indicate non-emissions related problems. It could be signaling issues like electrical system faults, engine misfires, sensor malfunctions, or mechanical problems unrelated to emissions. These problems may trigger diagnostic trouble codes that aren’t directly connected to emissions control but still require attention. Using an OBD-II scanner helps you identify the exact cause, so you can address the underlying issue promptly and avoid further damage.
How Often Should I Have My Ford Transit Checked for Trouble Codes?
You should have your Ford Transit checked for trouble codes every 5,000 to 10,000 miles during regular maintenance. If the check engine light stays on or flashes, read the codes immediately, especially if driving over 20-40 miles. For fleet or commercial vehicles, consider more frequent scans, like monthly or quarterly. Regular diagnostics assist in catching problems early, prevent costly repairs, and guarantee your vehicle runs smoothly and efficiently.
Is It Safe to Drive Temporarily With the Check Engine Light On?
Did you know that ignoring the check engine light can increase your risk of costly repairs by up to 50%? You can usually drive temporarily with a steady light, but it’s risky. If it’s flashing, stop immediately; it signals a serious issue. Always get your vehicle diagnosed soon with an OBD-II scanner or mechanic’s help to prevent safety hazards, engine damage, or emissions problems. Don’t delay—early diagnosis saves money and keeps you safe.
What Are the Risks of Ignoring the Check Engine Warning?
Ignoring the check engine warning puts you at risk of serious damage and safety hazards. You might face costly repairs if small issues worsen, and your vehicle could break down unexpectedly. It also increases the chance of accidents due to engine or brake problems, and toxic fumes could enter the cabin. Plus, ignoring it can lower fuel efficiency, cause legal problems with emissions testing, and potentially void your vehicle’s warranty.
How Much Does a Professional Diagnostic Typically Cost?
A professional diagnostic usually costs between $122 and $233, depending on your vehicle and location. While basic scans at retail stores like AutoZone may be free, they only read codes and don’t provide repairs. Expect higher fees at independent shops or dealerships, especially for complex electronic systems. Remember, investing in accurate diagnostics can save you money by catching issues early before they turn into costly repairs.
Conclusion
Ignoring that check engine light could lead to bigger, more costly problems down the road. You’ve learned how to read codes and what steps to take next, but the real question is—will you act now or wait until it’s too late? Don’t let a small warning turn into a major headache. The choice is yours: stay vigilant or risk facing unexpected breakdowns. The next move could make all the difference.