When relocating sensors and cameras after vehicle upfits, you need to carefully assess and adjust their positions to avoid obstructions and misalignments that can reduce performance. Remove or reposition mounts, ensure each device is securely fastened, and perform calibration to verify proper functioning. Protect them from dirt, glare, and damage while planning wiring routes carefully. Taking these steps helps maintain safety and system accuracy—if you want to discover more about optimizing your setup, keep exploring the details.
Key Takeaways
- Reassess original sensor and camera locations post-modification for proper alignment and unobstructed view.
- Secure devices with appropriate mounts, ensuring stability in new positions.
- Perform recalibration using professional tools to verify correct function and alignment.
- Protect sensors and cameras from environmental factors like dirt, glare, and damage.
- Test all safety features and visual aids in various conditions, making adjustments as needed.
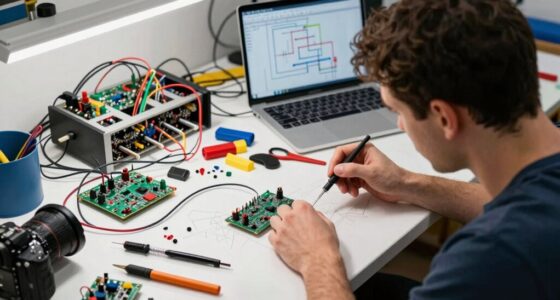
After completing upfits on your vehicle, relocating sensors and cameras is often necessary to guarantee ideal performance and safety. When you add new equipment or modify your vehicle’s structure, the original placement of these devices may no longer be effective or even functional.
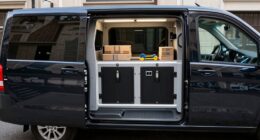
For instance, a new bumper, added accessories, or custom modifications can obstruct sensors or misalign cameras, reducing their ability to detect obstacles accurately or provide a clear view. Ensuring these devices are correctly repositioned is vital to maintain the safety features you rely on, such as collision avoidance, parking assistance, and lane departure warnings.
Custom modifications can block sensors and misalign cameras, impairing safety features like collision avoidance and parking assistance.
The first step involves evaluating the new vehicle configuration carefully. You need to identify the original locations of sensors and cameras and determine whether they’re still unobstructed and aligned properly after the modifications. This often requires removing or adjusting existing mounts and fixtures.
It’s essential to handle this process with precision because even a slight misalignment can compromise the device’s effectiveness. For example, a camera that’s tilted or a sensor that’s mounted too high or too low may not detect objects at the correct distance, posing safety risks.
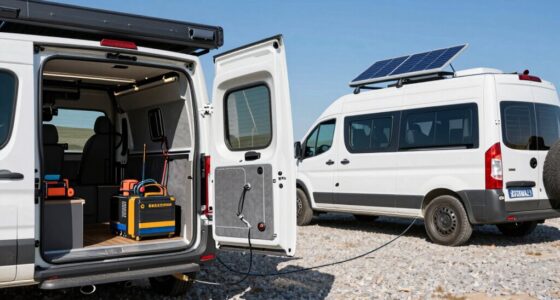
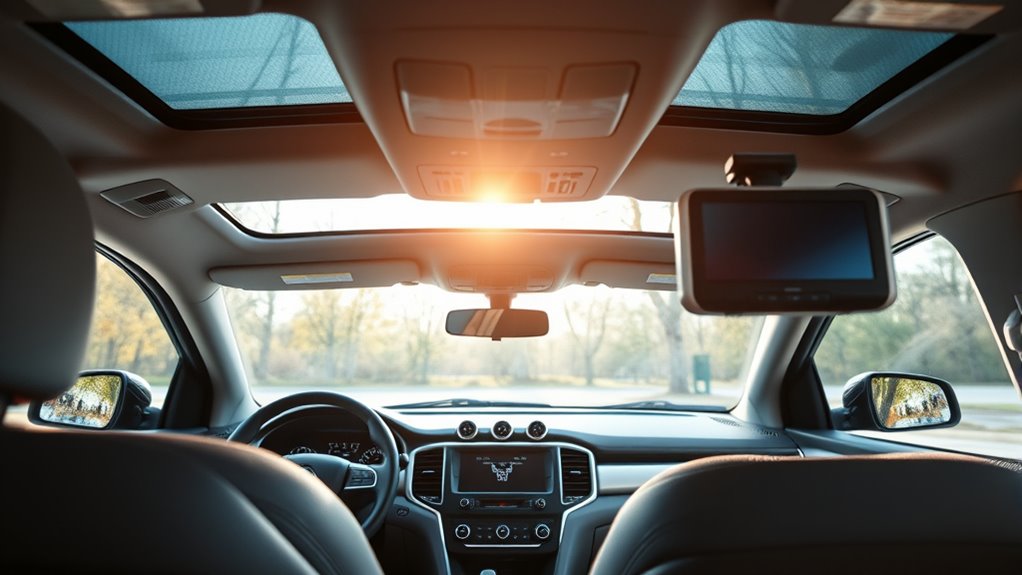
Next, you should consider the environmental factors that could affect the placement. For example, sensors and cameras exposed to dirt, mud, or direct sunlight might need additional protective covers or strategic positioning to prevent damage or glare.
When relocating these devices, aim for locations that avoid interference from vehicle structures, such as frames or body panels, which could block their view or create blind spots. Proper placement also involves ensuring that wiring and connectors are routed safely, avoiding areas prone to vibration or heat buildup, which could cause damage over time.
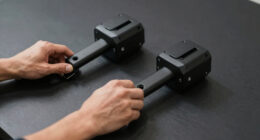
Once you’ve identified the ideal new positions, you’ll need to secure the sensors and cameras firmly. Use appropriate mounting brackets and fasteners designed for your specific devices.
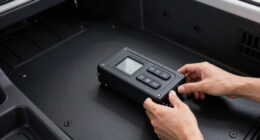
Precise calibration is essential after repositioning; you may need to recalibrate the sensors and cameras to ensure they function correctly. Many systems allow for on-vehicle calibration, but some might require professional tools or software to verify alignment and accuracy.
Additionally, understanding the best anime movies and how they influence storytelling can give you inspiration for designing or customizing your vehicle’s tech features to enhance safety and entertainment options.
Finally, test the system thoroughly once the devices are relocated. Drive your vehicle in various conditions, paying close attention to the performance of sensors and cameras. Check that the parking assistance, collision warnings, and camera views are accurate and unobstructed.
If you notice any discrepancies or blind spots, revisit the placement, and make adjustments as needed. Proper relocation of sensors and cameras after upfits not only preserves the safety features but also enhances your confidence in your vehicle’s ability to operate safely and efficiently.

QLED Radio for Ford Transit 150 250 350 Base Version 2015 2016 2017 2018 2019 Upgrade,Touch Screen Stereo Replacement,carplay Android auto,4G Network,Free Camera
True Plug & Play - No Wire Cutting!: Engineered specifically for Ford Transit-150 Transit-250 Transit-350 Transit-Connect 2015 2016...
As an affiliate, we earn on qualifying purchases.
Frequently Asked Questions
What Are the Cost Implications of Relocating Sensors and Cameras?
Relocating sensors and cameras can increase your costs due to labor, new mounting hardware, and potential system recalibrations.
You might also face additional expenses if new wiring or connectors are needed. Keep in mind, the complexity of the relocation affects the overall price—more intricate adjustments require more time and effort.
Planning ahead helps you budget effectively and avoid unexpected expenses during the process.
How Long Does the Relocation Process Typically Take?
A stitch in time saves nine, so you should expect the relocation process to take one to three days, depending on the complexity. You’ll want to coordinate with your service team to guarantee minimal downtime.
While it might seem quick, proper planning ensures everything functions smoothly afterward. Rushing can lead to issues, so give your team enough time for a thorough job, avoiding future headaches.
Are There Specific Regulations for Sensor Placement After Upfits?
Yes, there are specific regulations you need to follow for sensor placement after upfits. You should check local and federal laws, as well as manufacturer guidelines, to guarantee compliance.
Proper placement is vital for safety, accuracy, and legal adherence. Make sure to keep sensors accessible for maintenance, avoid obstructions, and verify that they’re installed at the correct height and angle.
Consulting with professionals can help you meet all the necessary standards.
Can Existing Sensor and Camera Systems Be Reused After Relocation?
Yes, you can reuse existing sensor and camera systems after relocation, but you need to ensure they’re still functional, properly calibrated, and meet safety standards.
Check for compatibility with new mounting points, verify that wiring remains intact, and test the devices thoroughly.
Regular maintenance and recalibration are essential to keep the systems accurate and effective.
If any issues arise, consider replacing or upgrading components to guarantee peak performance.
What Tools Are Necessary for a Successful Sensor and Camera Move?
You’ll need a screwdriver set, wire strippers, a multimeter, and possibly a drill with bits for a successful sensor and camera move. Make certain you have replacement mounting brackets and cable connectors compatible with your system.
Using a wrench may be necessary for securing mounts. Don’t forget to have your user manual on hand for specific wiring diagrams and installation instructions, which will help avoid mistakes during the relocation process.

4Core 64GB ROM Car Radio Stereo for Ford Transit 150 250 350 2015 2016 2017 2018 2019: 9 inch 1280 * 800 Touch Screen 5GWiFi Wireless Carplay & Android Auto HD Backup Camera GPS Navigation SWC FM BT
【 For Ford Transit Radio 】 This Ford Transit radio fits 150 250 350 ( 2015 2016 2017...
As an affiliate, we earn on qualifying purchases.
Conclusion
After relocating sensors and cameras, you’ll feel like you’ve given your vehicle superhero vision—seeing everything from every angle with laser precision. It’s as if you’ve installed a high-tech command center on wheels, turning your ride into a vigilant guardian that never sleeps. So, embrace the upgrade—you’ll be steering with the clarity of a hawk and the confidence of a commander. Get ready to dominate the road with your new, unstoppable vantage point!

moseiny 10 Inch Android 14 Car Stereo Radio for Ford Transit Custom 2020 2021 2022 2023 2024 with Wireless Carplay Android Auto Touchscreen Radio GPS Navi Bluetooth FM RDS SWC+ Backup Camera, 2+32G
Support Wireless Carplay & Android Auto & Mirrorlink:Android Touch Screen Head Unit for Ford Transit Custom 2020-2024 Car...
As an affiliate, we earn on qualifying purchases.

MELIPRON Van Partition Bulkhead Fit for Ford Transit 150 250 350 Mid Roof with Door Handle, Acrylic Custom Window Board
Safety Insurance: Van bulkhead is made of heavy-duty gauge steel with exceptional strength and resistance to impact, fire,...
As an affiliate, we earn on qualifying purchases.